I know, I’ve been a bad, bad blogger. I didn’t believe people when they said I would be so over wedding stuff once it was all said and done, but it’s funny how quickly and easily I got over the whole planning thing. It helped that I had quite a few major life transitions I was putting off until after the wedding, and I tackled those projects head on as soon as we returned from our honeymoon. Anyway, enough procrasti-tater excuses. Onto the photos!
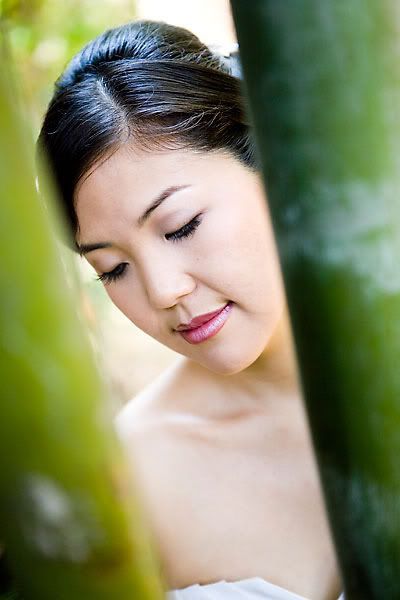
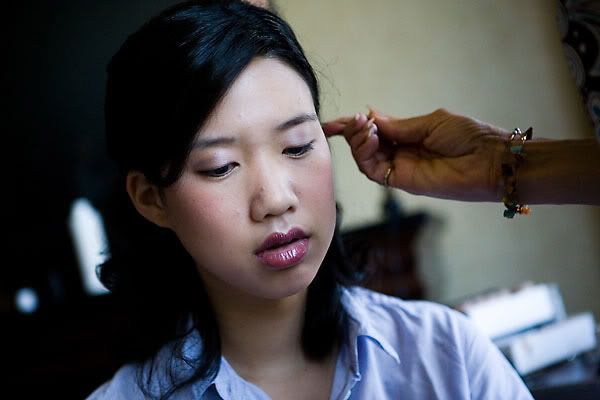
Again, all photos are copyright M. Norwood Photography unless otherwise noted. Oh, and warning–this is a long one. [1] The Details: Hair + Makeup [D.I.Y. Signs]
[6] The Details: Decor
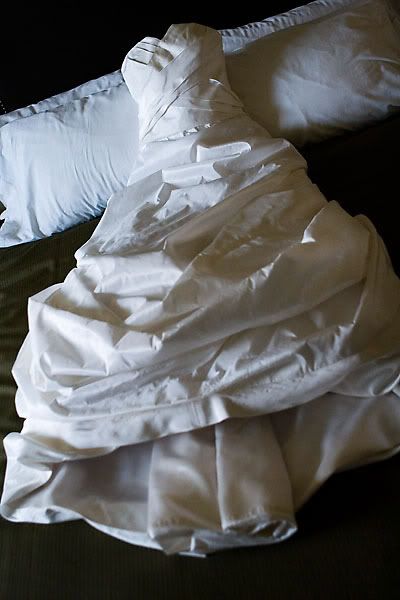
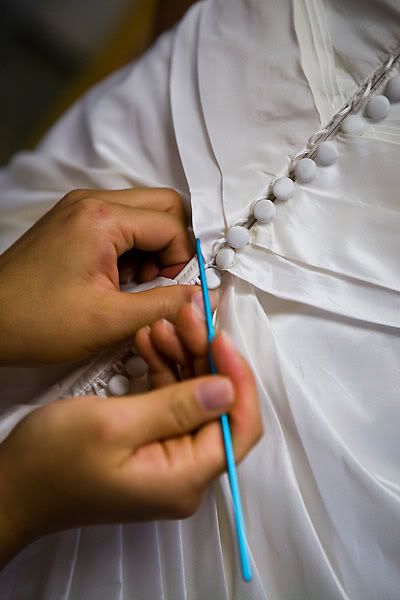
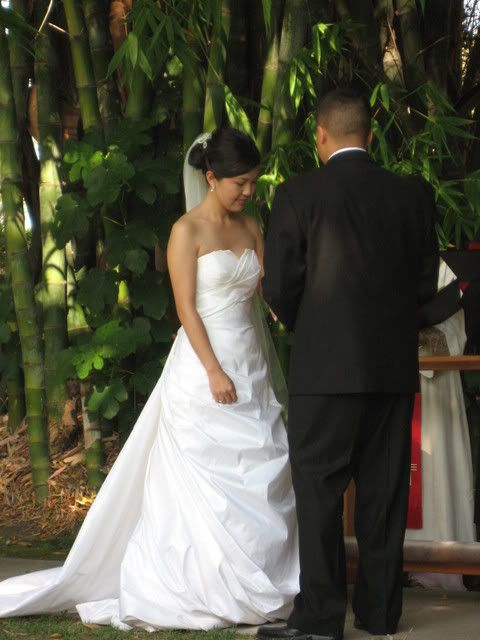
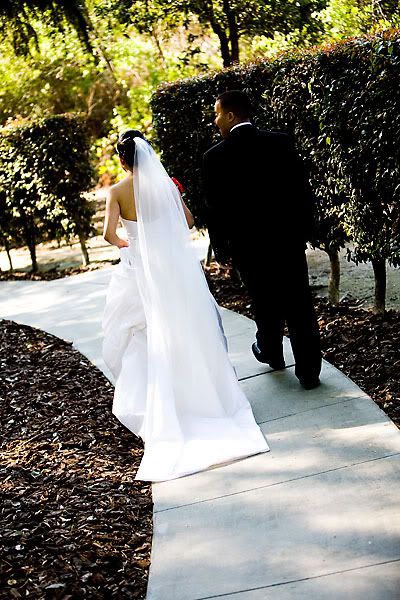
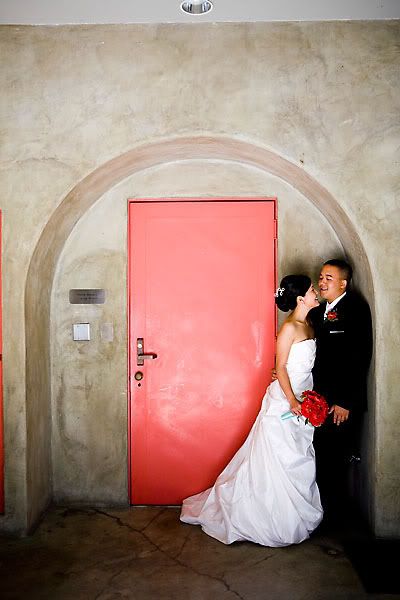
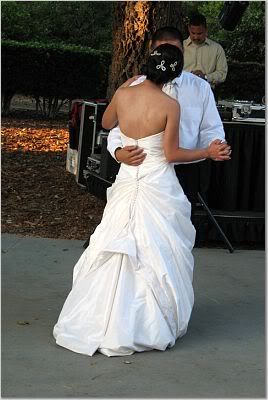
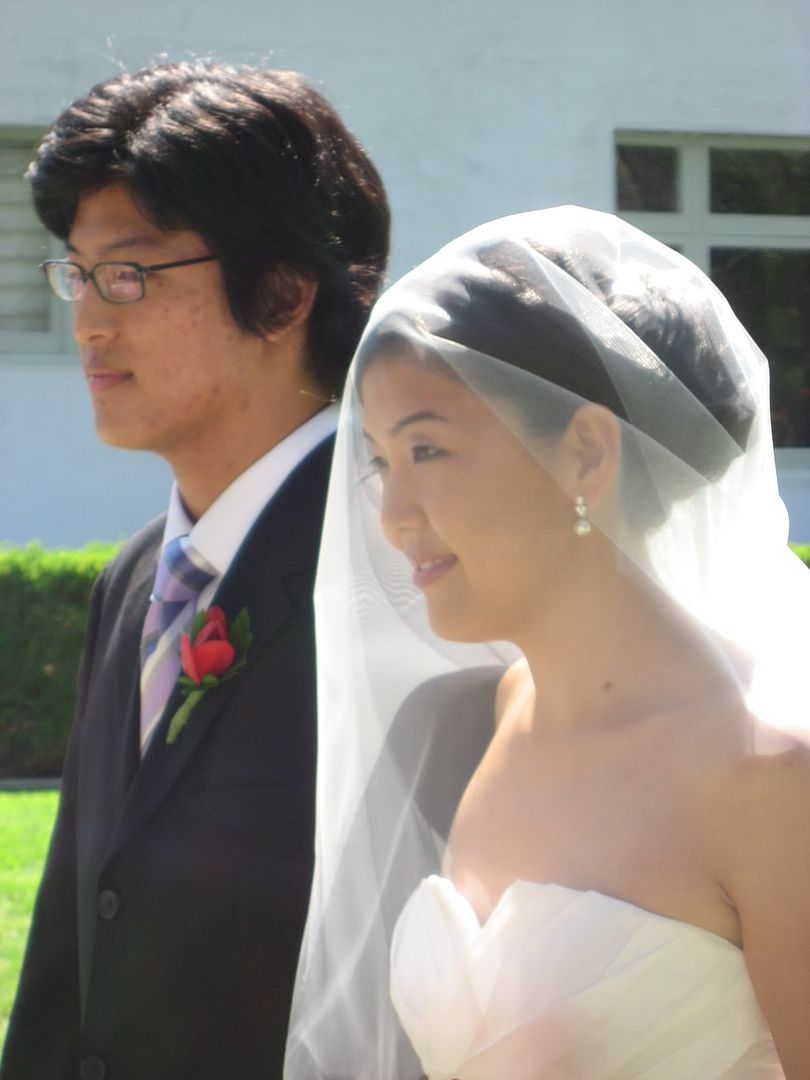
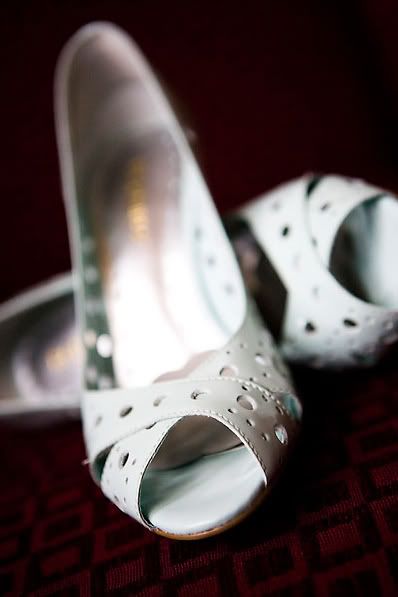
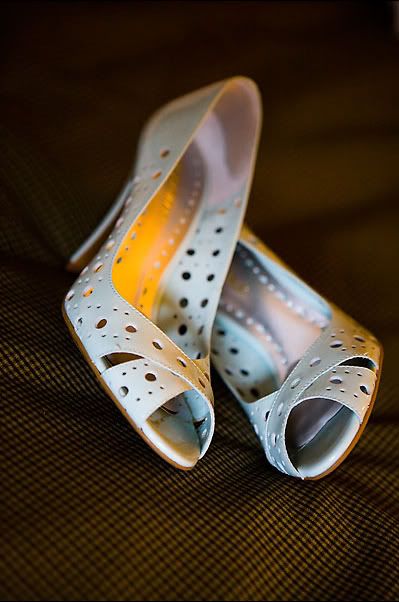
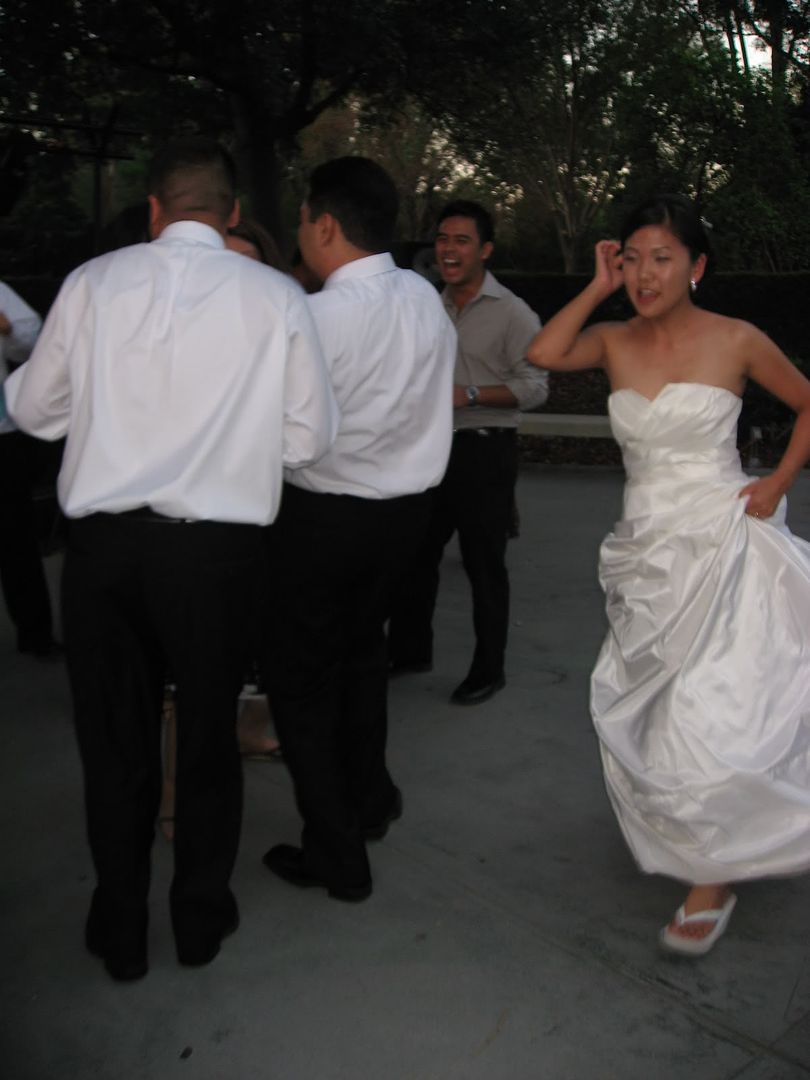
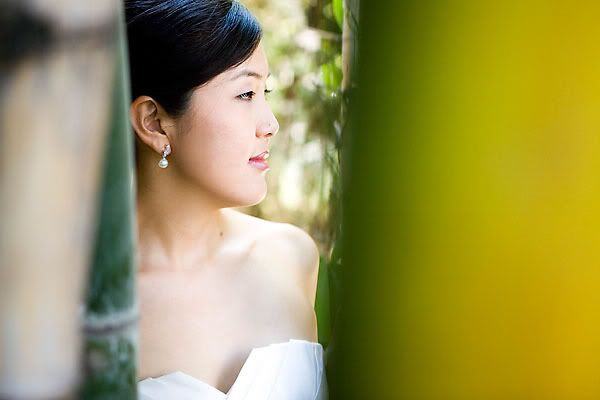
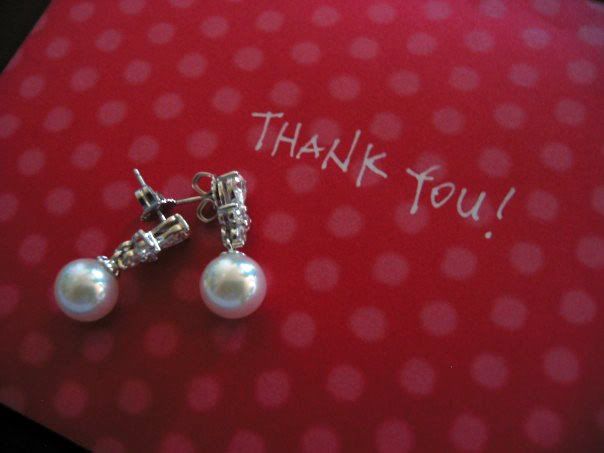
[2] The Details: Bride’s Attire
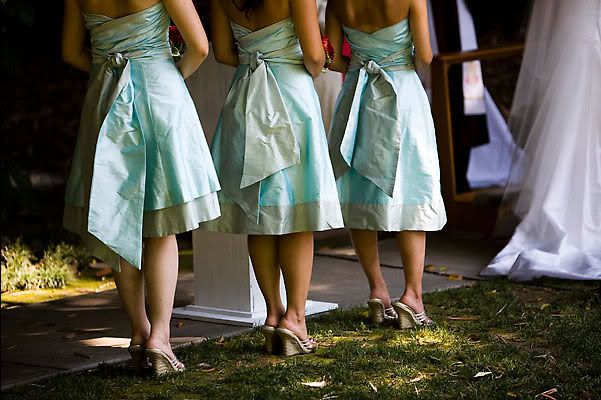
[3] The Details: Bridal Party Attire
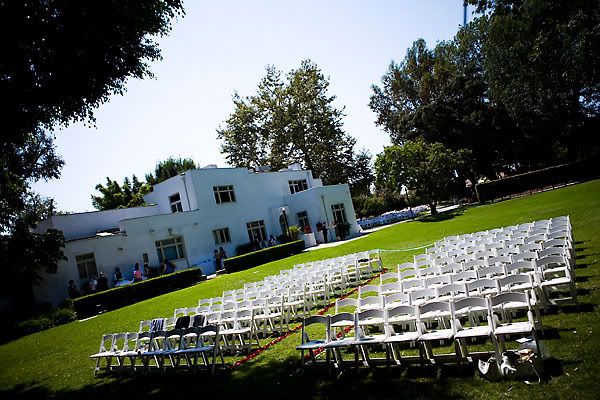
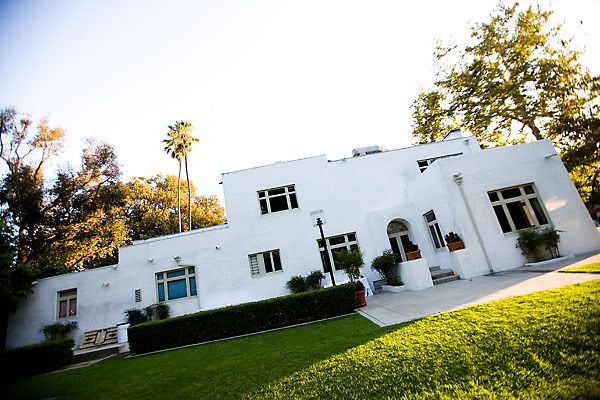
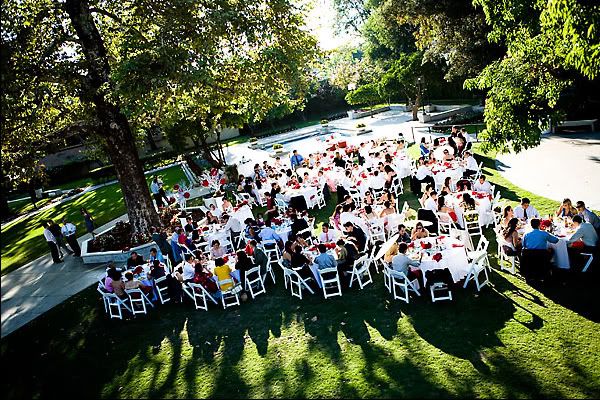
[4] The Details: The Venue
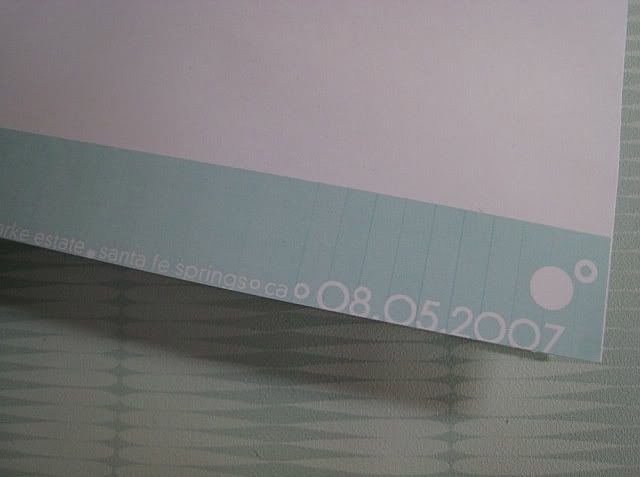
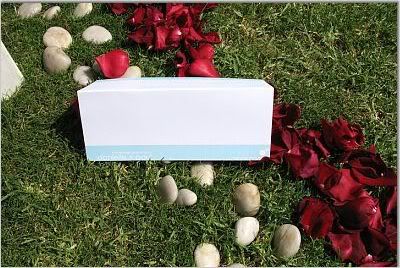
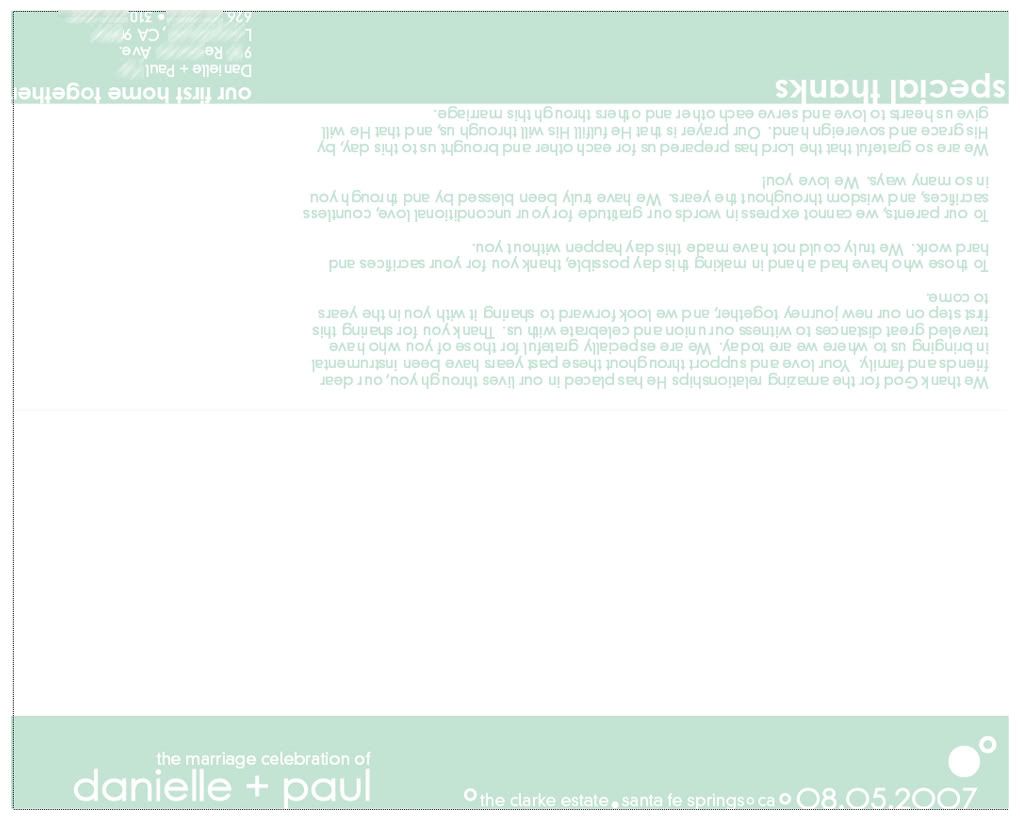
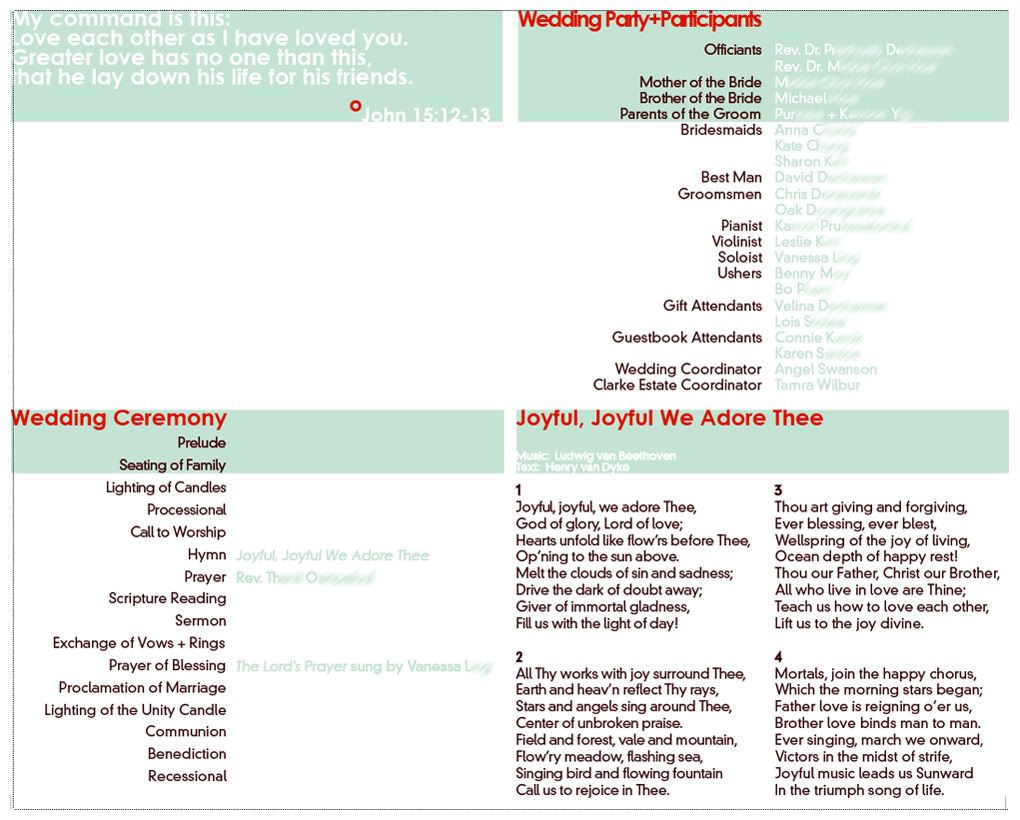
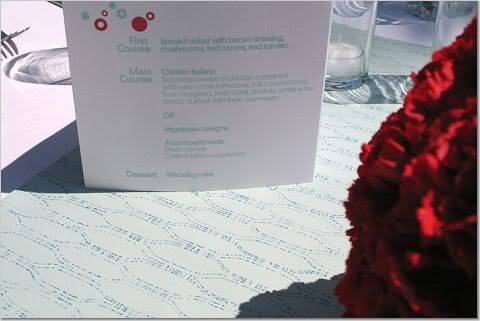
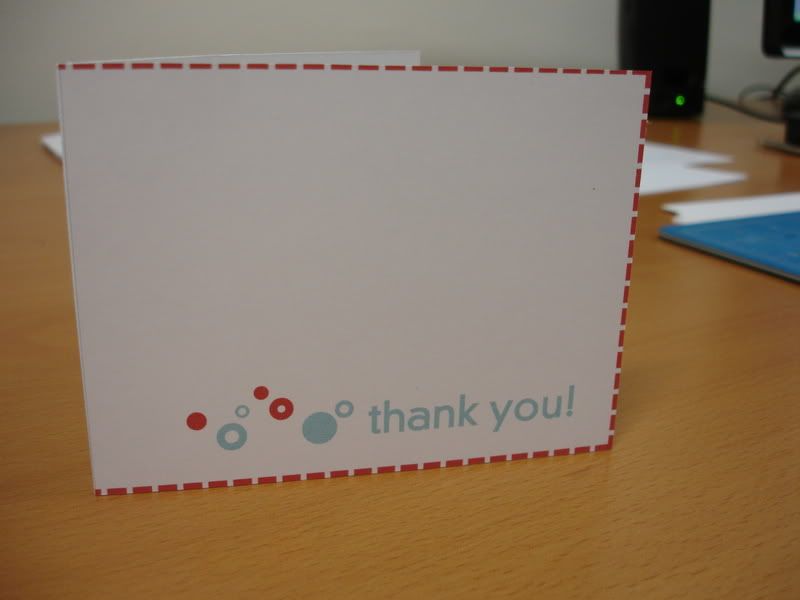
[5] The Details: Paper
- 1/4″ thick masonite + scrap lumber signs cut + assembled
for me by a carpenter friend. - I printed the text on my inkjet, cut it out, and rubber cemented
it on [for easy removal afterward]. - Simple, metal pails from ikea were filled with river rock as a “stand”
for the signs.


[photos by my guests]
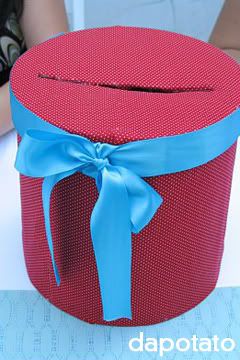
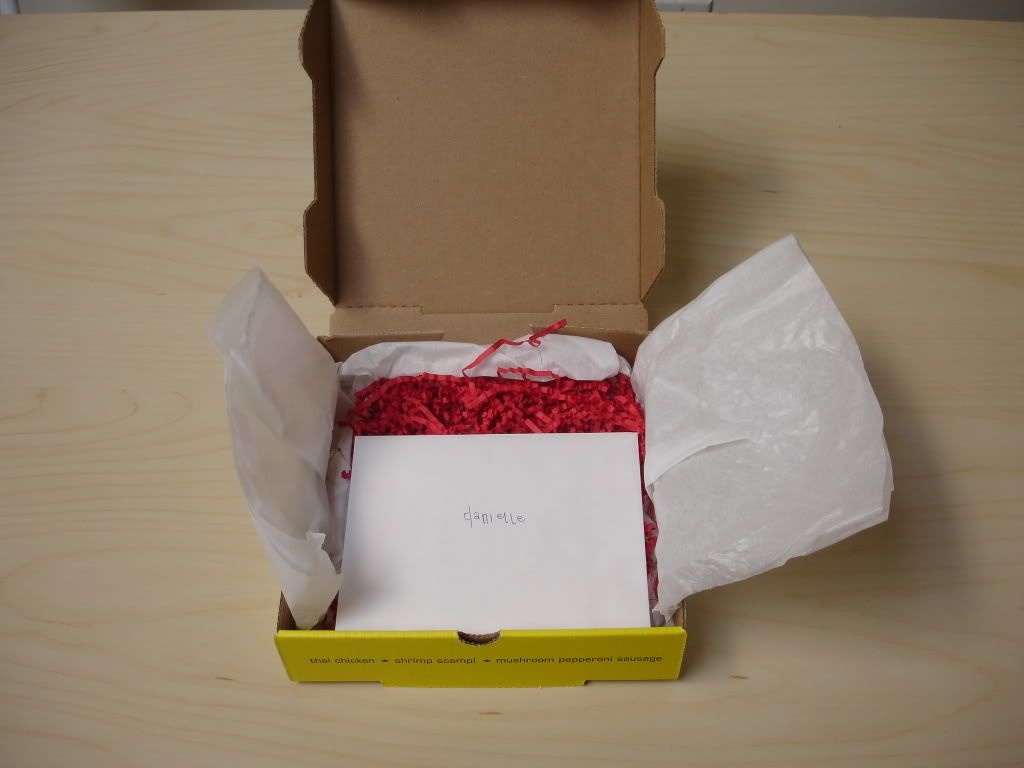
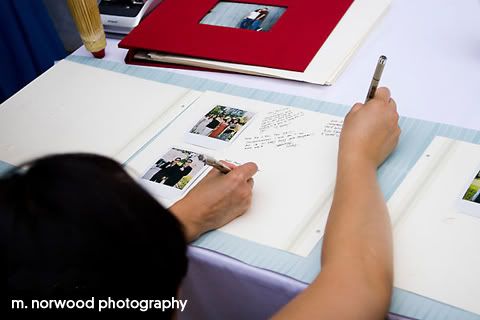
[Card Box]
An awesome friend made this for me. I think it was pretty
simple as her only tools were a tall-ish cylindrical box I
found on clearance at a craft store, some scrap fabric she had, leftover ribbon,
and a glue gun. Sorry, I don’t have any further specific instructions.
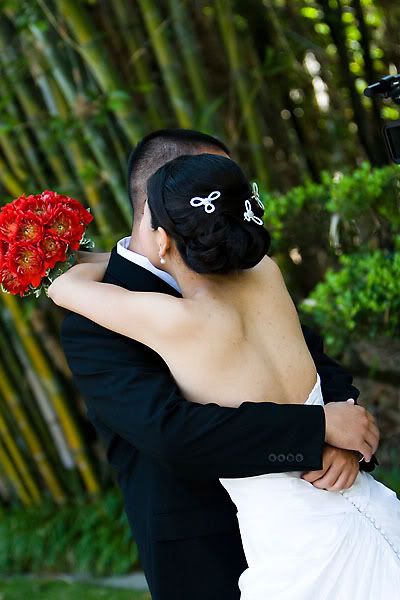
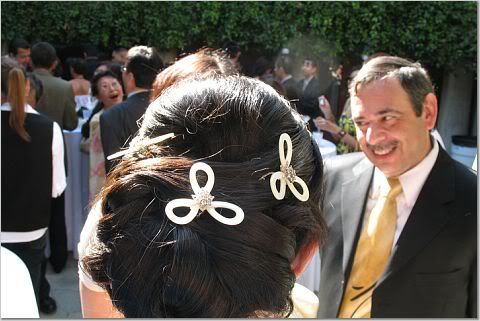
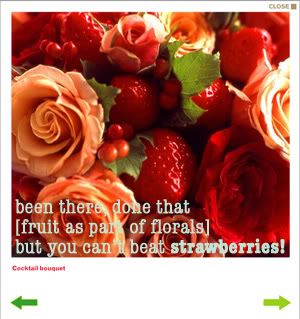
[Personal Flowers]
Bouquets
Left: Bridesmaid’s bouquet of dahlias, roses, + hypericum
berries.
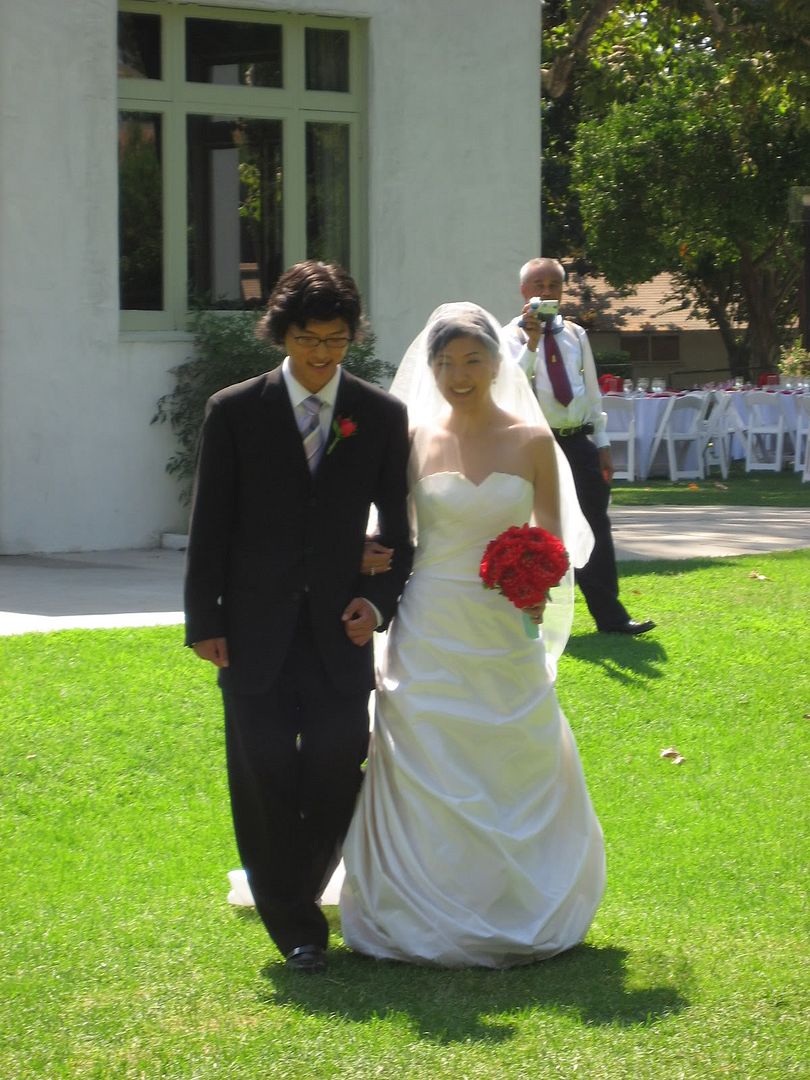
Right: Bride’s bouquet of dahlias.

The lockets I found on Etsy to attach
to my bouquet. I put in photos to remember my dad, my maternal grandfather, and the bear’s paternal grandmother (the other grandparents are still living, fortunately, or were never a part of our lives, unfortunately).
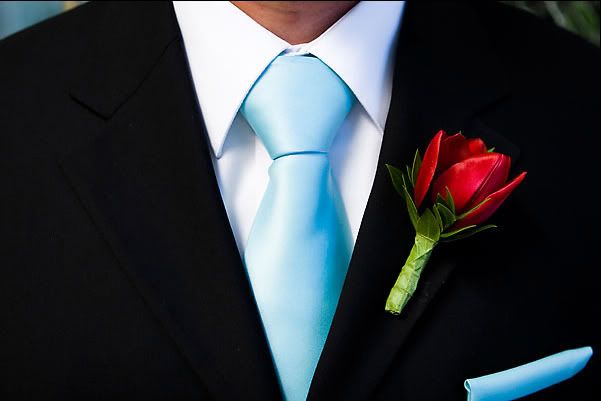
The groomsmen’s boutonnières consisting of a single, red tulip.
The groom’s boutonnière of one dahlia + green stuff (yes, it’s a technical term  ).
).
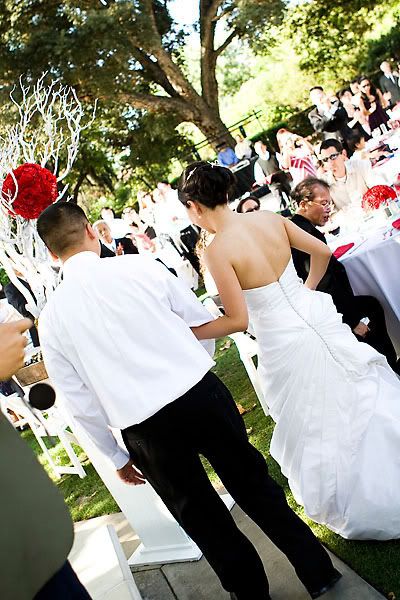
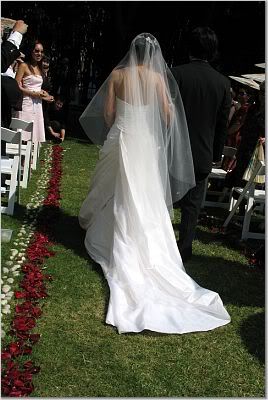
[Ceremony Decor]
Aisle: Lined with rows of red river rock and red
rose petals.

[photo on the right by a guest]

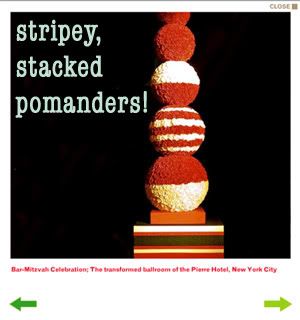
Altar Arrangements: Manzanita trees painted white with carnation
+ dahlia pomanders woven between the branches.

[Cocktail Hour]
My coordinator figured out these arrangements for
our bar-height tables using the candles, holders, and river
rock I pretty much threw at her with no direction whatsoever. She did an awesome job!
[photo by a friend]
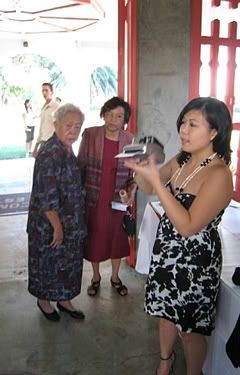
The potatoheads to greet guests at the mashed potato martini
bar.
[Reception]
The ceremony altar arrangements and bouquets doubled
as decor for our sweetheart table.

[both photos by friends]
That’s right folks! All carnation centerpieces. In Ikea bowls,
no less.

[photo by a friend]

[photo by a friend]

Our parents’ wedding photos and my toss bouquet on our cake
table.

[photo by a guest]
[Lounge]
- Furniture: Ikea Klippan sofa
+ pouffes, Lack
side tables, and Solsta
cubes. -
Centerpiece: Tealight lantern + votive holders bought at Ikea’s
summer tent sale for pennies. - Pillows: Various, all ordered from CB2.com.

In action!
[photo by a guest]
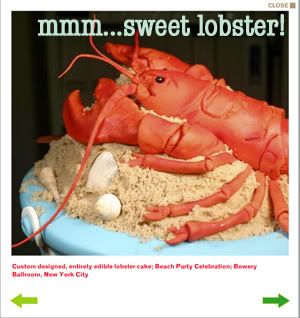
Next up: Food + Cake. Mmmm.


Recent Comments